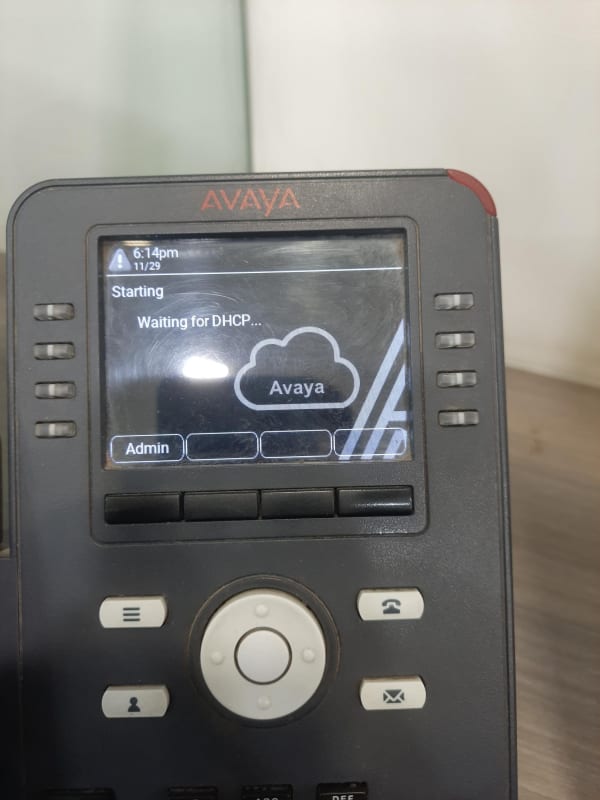
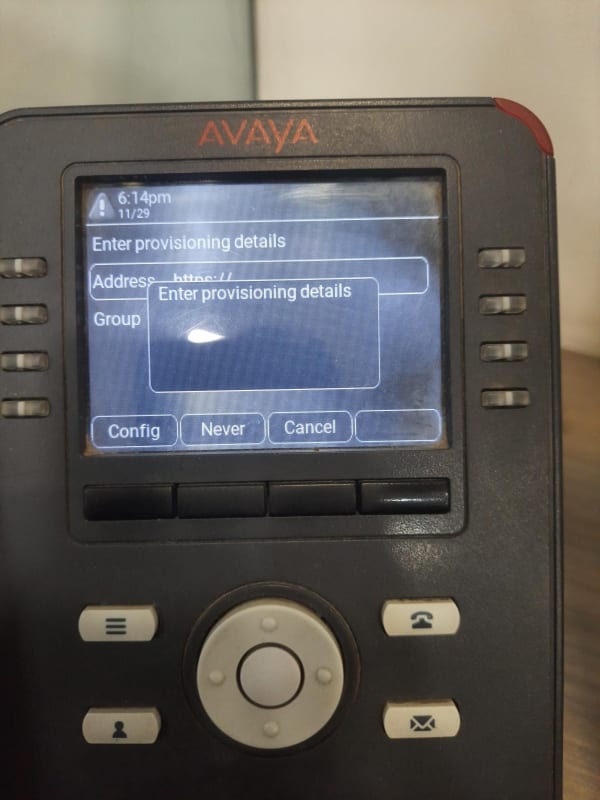
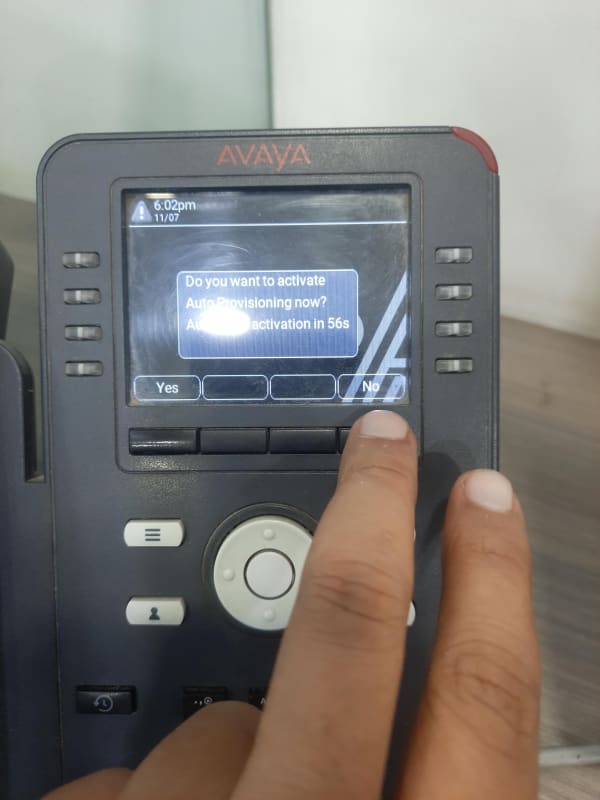
YES, i am selecting NO for that, after this phone is showing waiting for DHCP message and then rather going forward it shows the message of enter provisioning details, i have read the avaya doccument, pl read for ref:
Source:
About this task
You can enter the provisioning server address on the phones when the phone displays the Enter provisioning details screen.
Before you begin
Obtain the provisioning server address from the system administrator.
Procedure
1. When you boot the phone for the first time, the Auto Provisioning screen displays Do you want to activate Auto Provisioning now?, press one of the following:
o Yes: To connect to the Device Enrollment Services server to obtain the provisioning server address and ignore the provisioning server address from the DHCP.
o No: To obtain the provisioning server address from the DHCP server.
In case of a time out, and the DHCP does not provide the provisioning server address, the phone selects Yes.
If the connection to Device Enrollment Services is successful, and the phone receives the provisioning server address, the phone continues to boot and not prompt you for the provisioning server address.
If the connection to Device Enrollment Services is successful, and the phone does not receive the provisioning server address from Device Enrollment Services, the phone prompts you for a Numeric Enrollment code. Contact your administrator for a numeric enrollment code. When you enter the valid numeric enrollment code, the phone continues to boot and not prompt you for the provisioning server address.
If you do not have a numeric enrollment code, press Cancel. The phone continues to boot using the DHCP.
The phone displays the Starting message. If the phone does not receive the provisioning server address from the Device Enrollment Services or the DHCP server, the phone displays the Enter provisioning details screen.
2. On Enter provisioning details screen, press one of the following:
3.
o Config: To enter the provisioning server address.
o Never: To never prompt for the provisioning server address.
o Cancel: To cancel the prompt and display the Login screen.
o
4. After you press Config, enter the provisioning server address in the Address field.
The address is an alphanumeric URL. For example,
Tip:
To enter the dot symbol (.) in the field, press the alphanumeric soft key to toggle to the ABC mode.
To enter the forward-slash symbol (/) in the field, press the / soft key.
5. Optional Enter the Group number.
Obtain the Group number from your system administrator. The value ranges from 0 to 999. If you do not enter a value, the phone uses the default value of 0.
6. Press Save.
The phone continues the boot process and connects to the provisioning server.
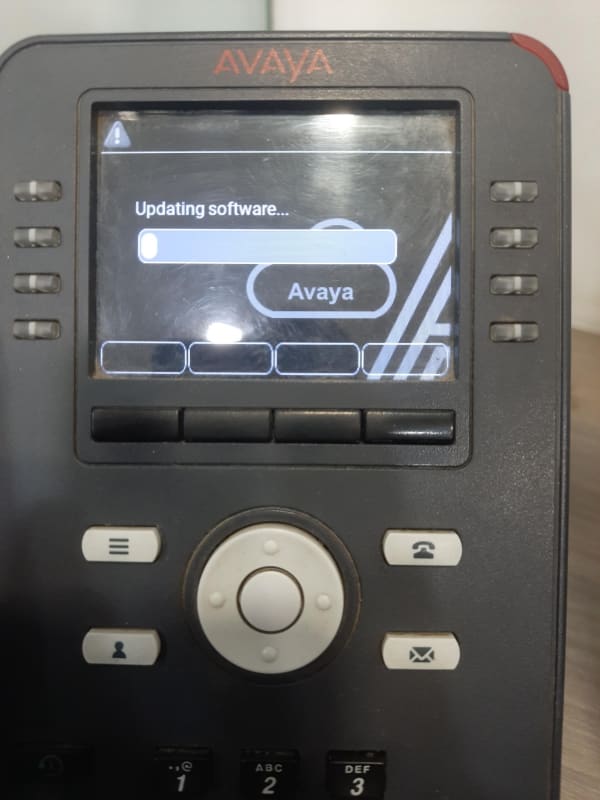
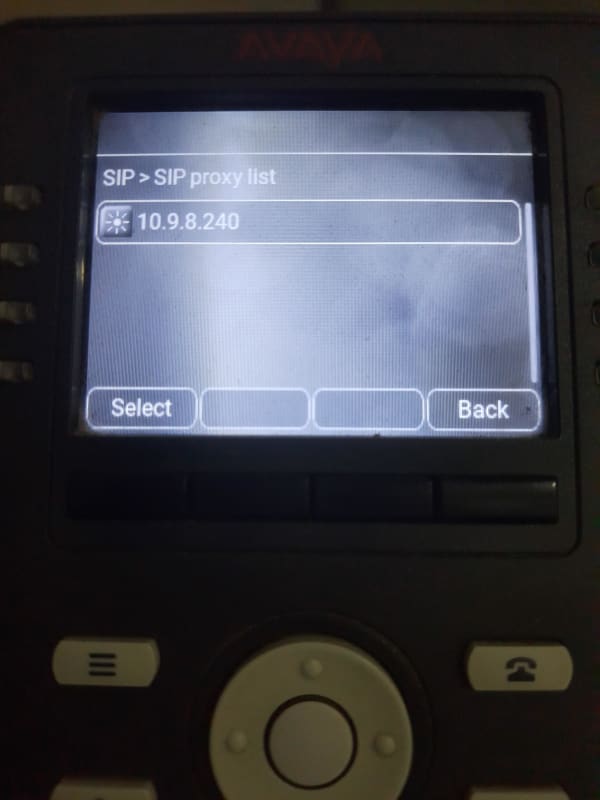
i am uploading some snapshots for the whole process..